
Installing Windows 11: Choosing Your Drive
If you’re looking to switch back to Windows 11 after spending some time on Linux, you might be wondering how to efficiently set it up on your machine. One of the common concerns is whether you can choose which drive to install Windows 11 on. Let’s shed some light on this process.
When you are installing Windows 11, either on bare metal or in a virtual machine (VM), understanding how the installation process works is crucial. In a VM environment, when you attempted to install Windows 11, you may have noticed that the setup does not provide an option to select a specific drive. This is typical behavior for VM installations. In a virtual environment, the VM software assigns a virtual hard disk (VHD), and you usually have control over that in the settings of your virtualization software but not during the installation process itself.
Conversely, when it comes to a physical installation on your PC, the process does allow you to select a specific drive. The Windows 11 installer will show you all the connected drives. Hence, you can choose where you want the operating system to reside. However, if you have multiple drives with various partitions, it’s wise to be cautious during this selection to avoid wiping out any important data.
Now, regarding your concerns about unplugging drives — it’s not strictly necessary to disconnect other drives before installation, but it can be helpful in certain scenarios. If you feel uncertain about partitioning or simply want to ensure there are no accidental data overwrites, disconnecting all non-target drives would offer peace of mind. This method ensures that the installer will focus solely on your desired drive without any risk of confusion between drives.
For creating a Windows 11 installation media, you can download an ISO file from the official Microsoft website. Upon creating a bootable USB drive or DVD from this ISO, the installation process will allow you to select your drive. To carry out the installation, follow these steps:
- Download Windows 11 ISO: Visit the official Microsoft website and download the Windows 11 ISO file.
- Create Installation Media: Use a tool like Rufus or the Windows Media Creation Tool to create a bootable USB drive from the ISO file.
- Boot from USB: Insert the USB into the computer, restart it, and enter the BIOS settings (usually by pressing a key like F2, F10, or DEL during startup). Set the USB drive as the first boot device.
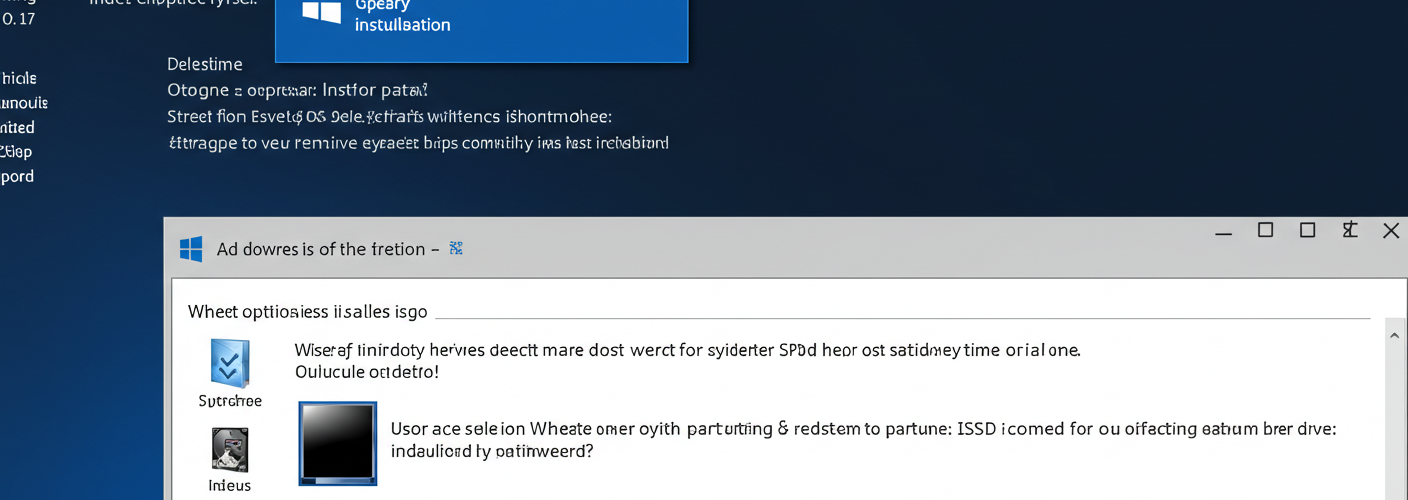
- Select Drive: Begin the installation process. When prompted, select the drive on which you wish to install Windows 11.
- Complete the Installation: Follow the on-screen prompts, and once completed, you will have Windows 11 running on your chosen drive.
As a final note, always ensure that your data is backed up before making significant changes like OS installations. Whether you choose to keep your drives connected or not, being proactive about data security will always serve you well during transitions between operating systems. Good luck with your installation, and enjoy using Windows 11!


Add comment