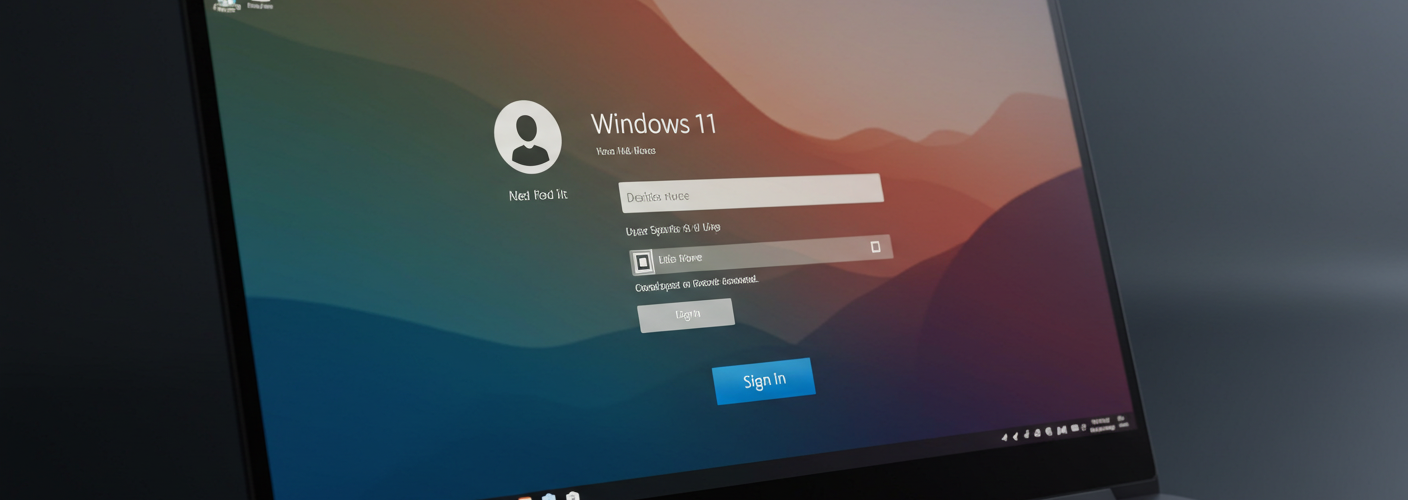
How to Extend the Timeout on the Login Prompt
In today’s fast-paced digital environment, efficiency and convenience are paramount, particularly when it comes to logging into computers. Many users encounter a common frustration: after entering a username, the login screen resets if the password is not entered within a short time frame—typically around 30 seconds. This timeout can feel insufficient, especially for users who may require additional time due to various reasons such as a slow typing speed, distracted environments, or needing to retrieve their password from a secure location. Fortunately, there are ways to extend this timeout period, allowing for a smoother and more user-friendly login experience.
Understanding the Login Timeout
The login prompt timeout is generally designed to prevent unauthorized access to a computer after a brief period of idleness. However, in environments where multiple users share the same device or where personal circumstances require a little extra time, the default setting can be limiting. The good news is that with a few modifications, you can customize how your system handles login timeouts.
Steps to Extend the Timeout
To extend the timeout on the login prompt, there are several methods depending on your operating system. Here’s a breakdown for both Windows and macOS users.
For Windows Users:
- Using the Registry Editor:
For Windows operating systems, you can modify the timeout setting through the Registry Editor. Here’s how:
- Press
Win + Rto open the Run dialog box. - Type
regeditand press Enter to open the Registry Editor. - Navigate to the following path:
HKEY_LOCAL_MACHINE\SOFTWARE\Microsoft\Windows\CurrentVersion\Authentication\LogonUI - Look for a value named
IdleTimeoutSecs. If it doesn’t exist, you can create it by right-clicking in the right pane and selectingNew>DWORD (32-bit) Value. - Set the value for
IdleTimeoutSecsto your desired timeout duration (in seconds). For example, if you want to extend it to 60 seconds, enter60. - Close the Registry Editor and restart your computer for the changes to take effect.
- Group Policy Editor:
If you’re using a professional or enterprise version of Windows, you may also utilize the Group Policy Editor:
- Press
Win + R, typegpedit.mscand hit Enter. - Navigate to User Configuration > Administrative Templates > System.
- Locate the “Interactive logon: Machine inactivity limit” setting. Here, you can adjust the inactivity timeout duration.
For macOS Users:
- Adjusting Settings in System Preferences:
On macOS, the login timeout can be managed through System Preferences:
- Open
System Preferences, then selectSecurity & Privacy. - Click on the
Generaltab. - Here, you can uncheck the option that requires a password immediately after sleep or screen saver begins. This may help, although this setting won’t directly change the login prompt timeout.
Conclusion
Extending the timeout on the login prompt is a valuable adjustment for users seeking a more accommodating login experience. Whether through registry settings in Windows or simple adjustments in macOS, these modifications can lead to increased efficiency and user satisfaction. Taking those few extra minutes can be crucial when accessing your essential work and personal data, providing a smoother transition into your digital space. Be sure to play around with the settings to find the perfect duration that works for your needs!


Add comment