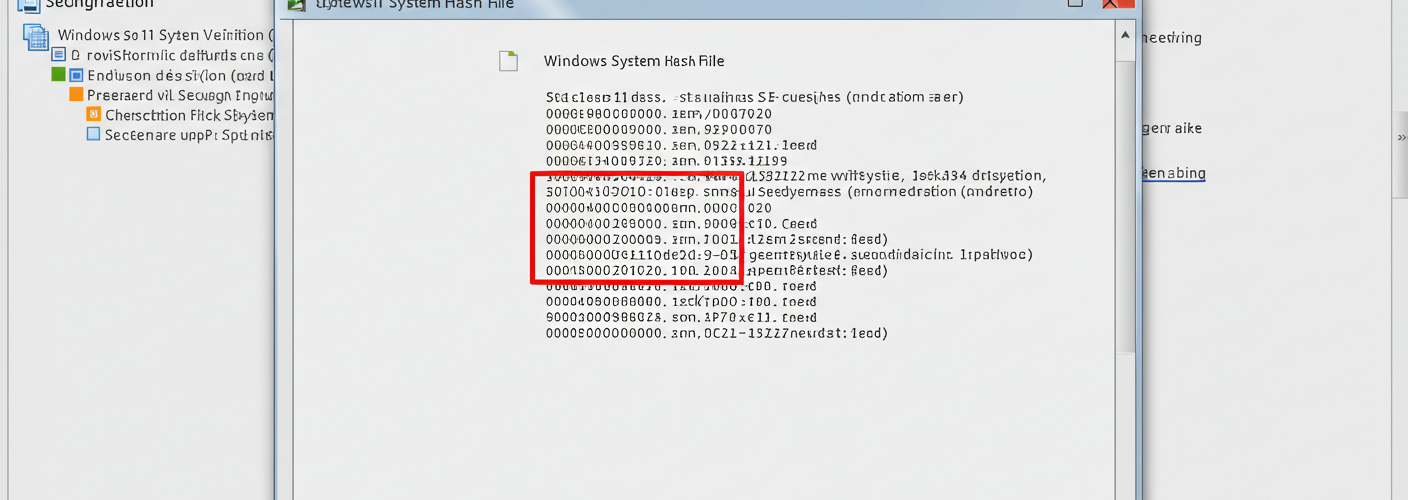
In the ever-evolving landscape of cybersecurity, ensuring the integrity of your operating system is of paramount importance. With the release of Windows 11, many users are proactively seeking ways to verify their installations against potential tampering—an essential step in maintaining a secure computing environment. One of the reliable methods for doing this is by creating and utilizing a system hash file.
What is a System Hash File?
A system hash file is essentially a digital fingerprint that represents the state of your operating system files at a specific point in time. By generating a hash of these files, you can later compare it to the current hash to check for any discrepancies. This process is vital for organizations looking to ensure that their systems haven’t been compromised, especially in environments where security is a top priority.
Generating a Hash File in Windows 11
To create a system hash file in Windows 11, you can use PowerShell, a robust command-line interface that allows users to perform various tasks, including file hashing. Here’s a simplified step-by-step guide to generate the hash file manually:
- Open PowerShell: Right-click the Start button and select “Windows Terminal” or “Windows PowerShell.”
- Choose Your Files: Determine which files or directories you want to hash. For a comprehensive check, you might want to include system files located in the Windows directory.
- Use the
Get-FileHashCommand:
To generate a hash for a specific file, you can use the following command:
Get-FileHash C:\path\to\your\file.extReplace C:\path\to\your\file.ext with the actual path of the file you want to hash. This will return a value known as the hash.
- Generate Hash for Multiple Files:
If you wish to create a hash for all files in a directory, you can iterate through the files using:
Get-ChildItem -Path C:\Windows\* -Recurse | Get-FileHash | Export-Csv -Path C:\path\to\your\hashfile.csv -NoTypeInformationThis command will create a CSV file containing the hash values of all files in the specified directory.
- Save the Hash File: Once you have your hash values listed, save them securely. This becomes your reference point for verifying system integrity later.
Using FIM (File Integrity Monitoring)
After generating the hash file, you can implement FIM solutions that will regularly check the current system state against the stored hash values. FIM can alert administrators to any changes, helping to identify unauthorized modifications.
Alternatives to Manual Hash Generation
While the manual process described above is effective, several third-party tools can automate hash generation and monitoring. These tools often provide user-friendly interfaces and additional features like real-time alerts, historical change logs, and dashboards to visualize integrity status.
Conclusion
Maintaining the integrity of your Windows 11 installation is critical for safeguarding against cyber threats. By generating and monitoring a system hash file, you create a robust defense mechanism to detect unauthorized changes. Whether you choose to generate the hash file manually or leverage advanced monitoring tools, ensuring your system’s integrity should be a continuous commitment for every Windows user. Think of it as your first line of defense in an increasingly complex digital landscape.


Add comment