
Preparing Your Motherboard for Windows 11: A Comprehensive Guide
Upgrading to Windows 11 can be an exciting journey into a new operating system filled with modern features and enhancements. However, ensuring that your hardware is ready, especially your motherboard, is crucial for a smooth installation process. Here’s how to properly prepare your motherboard for Windows 11 to achieve the perfect installation.
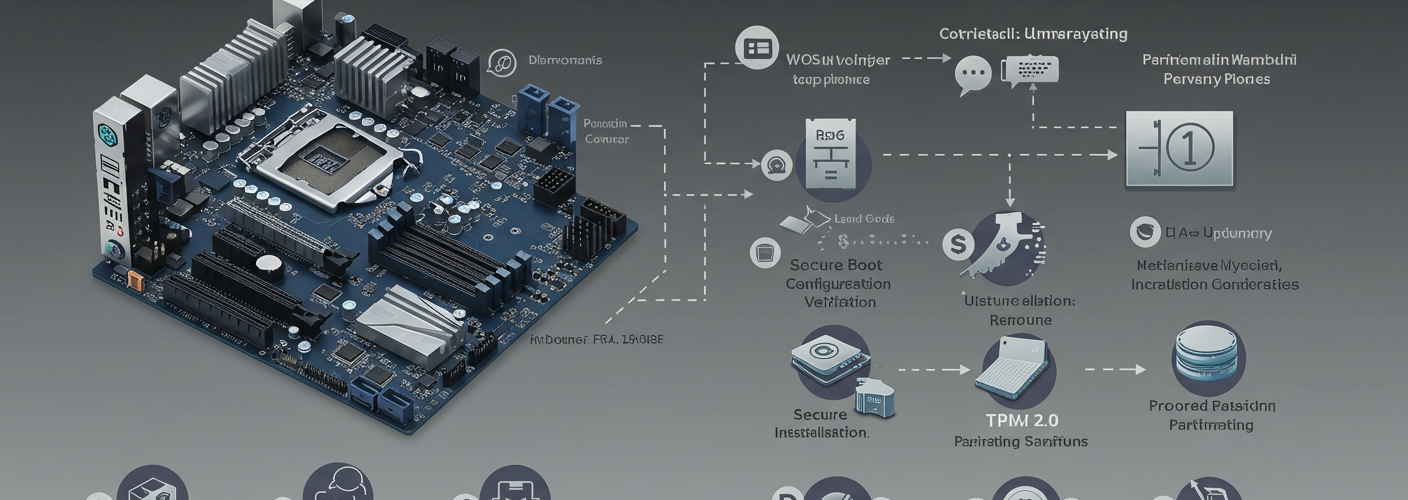
1. Update Your Motherboard Firmware
The first step in preparing your motherboard for Windows 11 is to update its firmware (often referred to as the BIOS/UEFI). Manufacturers regularly release updates that improve compatibility, stability, and performance. Check the manufacturer’s website for the latest version specific to your motherboard model and follow the instructions to perform the update. This step is pivotal as it ensures your system can support the latest operating system features.
2. Enable Necessary Features
After updating the firmware, reboot your system and enter the BIOS/UEFI setup. You will need to ensure that several features are enabled to meet Windows 11’s requirements:
- Secure Boot: This feature enhances system security by allowing only trusted software to run during the boot process.
- UEFI Mode: Make sure your motherboard is set to UEFI mode rather than legacy; Windows 11 requires UEFI to function optimally.
- Virtualization: Enabling virtualization is essential for running virtual machines and apps that rely on this feature.
- TPM (Trusted Platform Module): TPM is critical for security in Windows 11. Ensure it’s enabled in the BIOS settings.
3. Disable Compatibility Support Module (CSM)
Compatibility Support Module (CSM) allows legacy BIOS compatibility for older operating systems. For Windows 11, you should disable CSM to avoid conflicts. Disabling this will also help ensure that your system uses UEFI natively, which leads to better boot times and overall performance.
4. Enable Resizable BAR
Resizable BAR (Base Address Register) can significantly enhance game performance. If your motherboard supports this feature, make sure to enable it in the BIOS settings. Check your GPU documentation and the motherboard manual to confirm compatibility.
5. Update Other Firmware
If you have updates available for your SSD and GPU, now is the time to apply those as well. Updated SSD firmware can improve compatibility and performance, while a GPU firmware update may enhance stability and performance during gaming or graphics-intensive applications.
6. Download Windows 11 ISO
Visit the official Microsoft website to download the latest Windows 11 ISO. Ensure you choose the correct version that matches your system architecture (32-bit or 64-bit).
7. Prepare Your SSD
Before installation, it is advisable to format all partitions on the SSD that you intend to install Windows 11 on. This step eliminates potential conflicts with leftover files from previous installations, ensuring a clean slate. If you have partitions from other Windows installations, be sure to delete any security partitions as these can lead to installation bugs.
Conclusion
By following these steps, you can prepare your motherboard for an optimal Windows 11 installation. A well-prepared system not only results in a smooth installation process but also enhances the performance and longevity of your new operating system. Take your time to carefully execute each step, and enjoy the benefits of the latest Windows experience.


Add comment