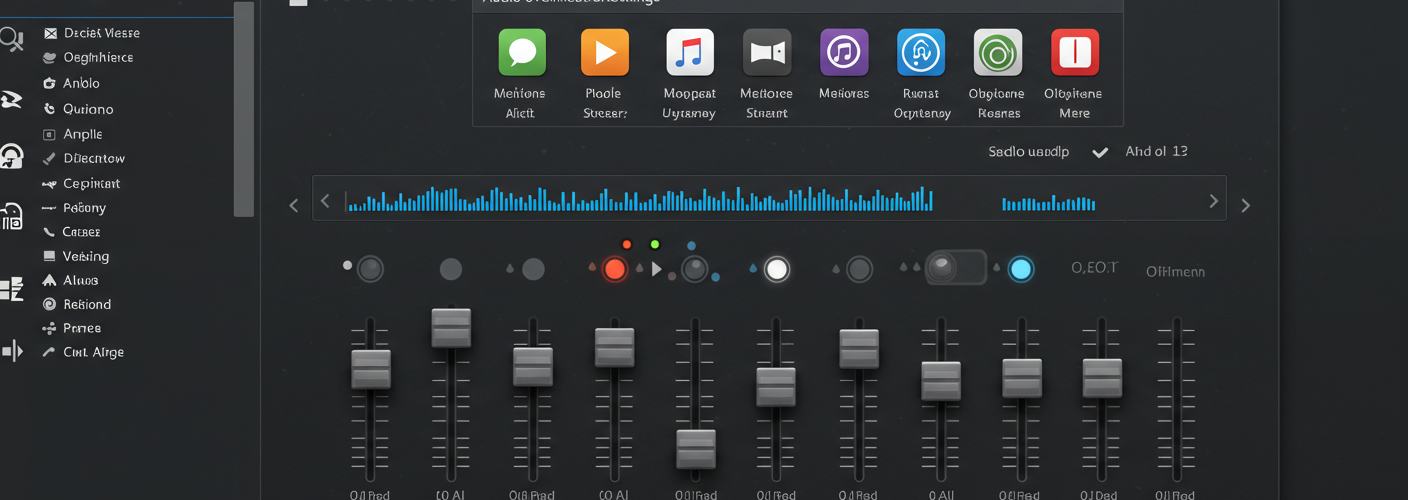
If you’ve ever found yourself in the middle of a gaming session or an important video call only to have Windows switch your audio device unexpectedly, you’re not alone. Many users experience the frustration of their systems automatically selecting the latest connected audio device, often at the most inconvenient times. The desire for a streamlined, singular audio experience is common, and thankfully, there are ways to manage your audio devices more effectively on Windows.
Understanding Device Behavior
Windows operating systems are designed to prioritize the most recently connected audio devices by default. This is convenient when you’re frequently switching between headphones, speakers, and other peripherals. However, for those who prefer a consistent audio setup, it can be quite irritating. The challenge lies in communicating to Windows that you want a specific device to take precedent until you say otherwise.
Adjusting Your Audio Settings
To exert greater control over your audio devices, the first step is to dive into the Sound settings in Windows. Right-click the speaker icon in the taskbar, and select “Sounds.” Under the “Playback” tab, you’ll see a list of all available audio devices. While it may not immediately solve the problem of automatic switching, it’s an essential starting point.
- Set Your Preferred Device as Default: Right-click on the audio device you prefer (like your headset or speakers) and select “Set as Default Device.” This instructs Windows to prioritize this device for audio output.
- Set as Default Communication Device: For input devices, you can do the same. Right-click your preferred microphone or input device and select “Set as Default Communication Device.” This setting helps ensure that your chosen microphone is linked to applications like Zoom or Teams.
- Disabling Other Devices: If you don’t use certain devices often, consider disabling them. Right-click on any device you don’t want Windows to use and select “Disable.” Just be cautious—this will require re-enabling the device when you want to use it again.
Using Advanced Settings
For users seeking deeper control, third-party software can offer more robust management features. Applications like Audio Switcher or VoiceMeeter provide functionalities that allow you to create profiles that specify which devices to use for which applications.
Installing such software can help maintain control over audio routing, especially in scenarios where multiple devices are connected. These tools often include hotkeys or shortcuts that allow you to switch devices quickly as needed while maintaining a status quo for your preferred settings.
Conclusion
While achieving that one-click “treat this as the only audio device that matters” feature isn’t available by default in Windows, utilizing the settings provided can make a significant difference. By taking the time to set your preferred audio devices and disabling the others when necessary, you can minimize interruptions and enjoy a smoother audio experience.
If you’re still facing significant issues months down the line, revisiting your settings with a problem-oriented perspective can save you from frustration. Remember, it’s all about finding what works best for you within the system’s constraints. With a bit of adjustment and possibly some third-party assistance, you can take back control over your audio devices.


Add comment