
Transferring Your Custom Cursor Scheme to Another PC: A Comprehensive Guide
Customizing the appearance of your computer is a way to express your personality, and for many, a unique cursor scheme performs this function exceptionally well. If you’ve invested time and effort into designing a custom cursor scheme on one PC and want to transfer it to another, you may find the process a bit tricky. Below, we will explore the various methods available for transferring your custom cursor settings.
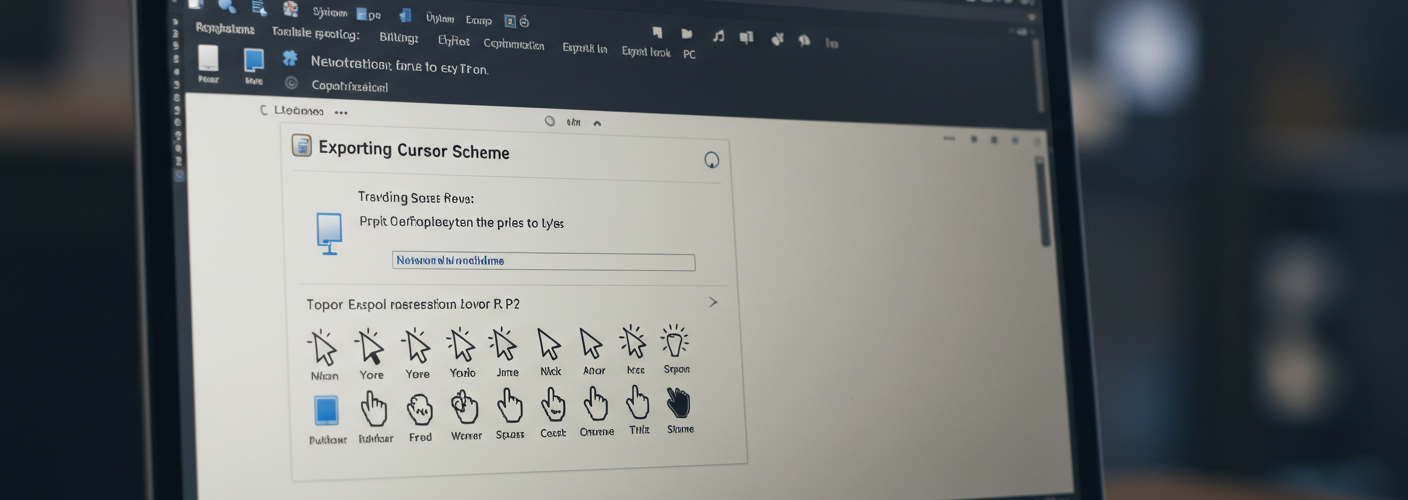
Understanding Cursor Schemes
Cursor schemes include all the cursor icons used by the operating system, organized into a single theme. To ensure that your cursor scheme appears exactly as it does on your existing PC, you will need to move both the cursor files and the associated settings.
Locating Your Cursor Files
If you’ve already saved a custom cursor scheme, there’s a good chance that the cursor files are located in the appropriate Windows system directory. Typically, custom cursors can be found in this path:
C:\Windows\CursorsMake sure to check this folder for the cursor files, which usually have the extension .ani for animated cursors and .cur for static ones. If your custom cursors are there, note down their location.
Exporting the Registry Settings
You mentioned you’ve tried exporting the registry. This method can be effective, as the cursor settings are stored in the Windows registry. Here’s a step-by-step guide on how to do it properly:
- Exporting the Current Scheme:
- Open the Registry Editor by typing
regeditin the Start menu search bar. - Navigate to the following path:
HKEY_CURRENT_USER\Control Panel\Cursors - Right-click the
Cursorskey and selectExport. Save the.regfile to a location you can easily access.
- Importing into the New PC:
- Transfer the saved cursor files and the
.regfile to the new PC. - On the new PC, double-click the
.regfile you previously exported. Confirm any prompts to allow changes to be made to the registry.
However, if this process has not worked for you, it may be worth exploring a few alternative methods.
Alternative Methods for Transfer
- Manual Copying:
- Use a USB drive or cloud storage service to transfer the cursor files manually from the original PC to the new one.
- Once the files are on the new PC, save them in the same directory (
C:\Windows\Cursors). Afterward, you can select the custom scheme in the mouse settings.
- Recreating the Scheme:
- If all else fails, consider recreating the cursor scheme from scratch on the new computer. It might be a bit of extra work but ensures that you can refresh your design and customize it further.
- Using Third-party Software:
- Some software applications can assist in backing up and restoring cursor schemes. Research and find a reliable program that can manage cursor settings across different machines.
Conclusion
Transferring a custom cursor scheme to another PC requires a combination of exporting registry settings and moving cursor files. By following the steps outlined above and considering alternative solutions, you can successfully achieve the desired result. Remember to ensure that any file permissions or settings on the new computer do not inadvertently override your custom setups. With the right approach, you can enjoy your personalized cursor settings wherever you go!


Add comment