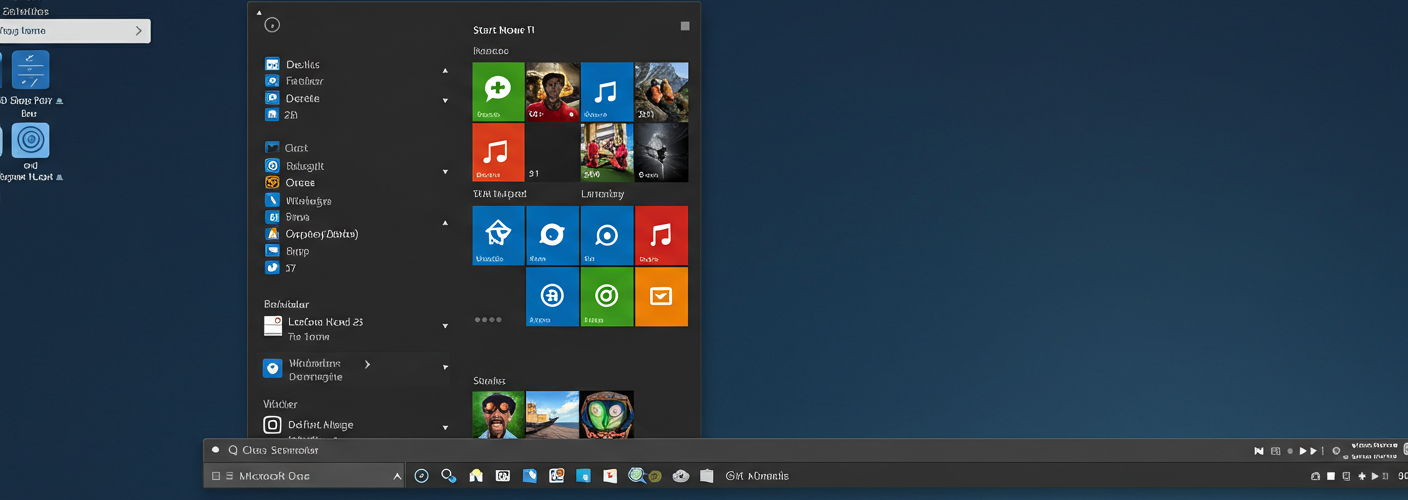

How to Install Windows 11 on a New Drive: A Step-by-Step Guide
Upgrading to Windows 11 can be an exciting venture, especially if you’re planning to install it on a new drive. Transitioning from Windows 10 to Windows 11 allows you to take full advantage of the latest features, improved performance, and enhanced security. If you’re currently using Windows 10 on an old drive and want to make the jump, here’s a straightforward guide to help you through the installation process.
Step 1: Prepare Your Components
Before diving into the installation, ensure you have everything you need:
- New Drive: This could be an SSD or HDD, depending on your preference and budget.
- USB Drive: A USB flash drive with at least 8 GB of empty space.
- Backup: Always back up your important files from your old drive to prevent any data loss during the transition.
Step 2: Check System Requirements
Ensure your system meets the minimum requirements for Windows 11. You will need:
- A compatible 64-bit processor
- 4 GB of RAM or more
- 64 GB of storage
- UEFI firmware with Secure Boot capability
- TPM version 2.0
You can use Microsoft’s PC Health Check tool to verify your system’s compatibility.
Step 3: Create Windows 11 Installation Media
Now, head over to the Microsoft website to download the Windows 11 installation media:
- Visit the Microsoft Download Page: Search for “Windows 11 download” on Microsoft’s site.
- Download the Media Creation Tool: Click on the “Download Now” button to obtain the tool.
- Run the Tool: Open the Media Creation Tool and select “Create installation media (USB flash drive, DVD, or ISO file)” when prompted.
- Choose Language and Edition: Select the desired language and edition of Windows 11.
- Select USB Drive: Choose the USB drive you prepared earlier to create the installation media.
- Complete the Process: The tool will download Windows 11 and help you create the bootable USB drive.
Step 4: Install Windows 11 on the New Drive
With the installation media ready, it’s time to install Windows 11 on your new drive:
- Connect the New Drive: Install the new drive into your computer, ensuring all connections are secure.
- Boot from USB: Restart your computer and enter the BIOS/UEFI settings (usually by pressing F2, F10, DEL, or ESC during startup). Change the boot order to prioritize the USB drive.
- Start Installation: Save the settings and restart your computer. It should boot from the USB drive, bringing you to the Windows Setup screen.
- Select Install Now: Follow the on-screen instructions, selecting your new drive as the installation destination. Be cautious not to select the old drive unless you want to format it.
- Complete the Installation: Proceed with the installation by following the prompts, including customizing your settings and creating a user account.
Step 5: Update Drivers and Customize Settings
Once the installation finishes, log in to your new Windows 11 setup. It’s crucial to update drivers for your hardware components to ensure optimal performance:
- Update Drivers: Go to Device Manager or check the manufacturer’s website to download the latest drivers.
- Customize Settings: Explore the new features that Windows 11 offers, and adjust settings according to your preferences.
Conclusion
Installing Windows 11 on a new drive can breathe new life into your computing experience. By following these steps, you can seamlessly migrate from Windows 10 and enjoy all the enhancements that Windows 11 has to offer. Happy computing!


Add comment